How to Restoring Antique Furniture
December 21, 2018There are few things that cost more than a family heirloom, unless it is one which looks new thanks to ways of restoring old furniture. Giving a new look to a piece is not a quick, but it is something worth doing when you have an amazing furniture item to enjoy in the future.
While antique furniture restoration takes a lot of time, it doesn’t need to be complicated as long as you follow the process one step at a time. Having the tools and products you need will make the task much easier and very rewarding. These six steps for restoring old furniture will help you get that furniture back in fashion.
-
Safety
Restoring old furniture needs tools and chemicals that can be dangerous to your wellbeing if you’re not careful enough. First, you need the right tools for the job; not just to make the task not as hard, but to make sure you and your family are safe. Use protective gear like long sleeves, rubber gloves and goggles to prevent getting chemicals onto your skin. Work in an area that has good air circulation– like outside – so you don’t breath in dangerous gases. Have oily rags just like the instructions say on the solvent package you use to make sure your home is safe from combustion and other dangers. At last, look out for older paint finishes which might have lead. If you think that paint that has lead is on your furniture, use a good ventilator when taking this material off or give it to a professional for stripping.
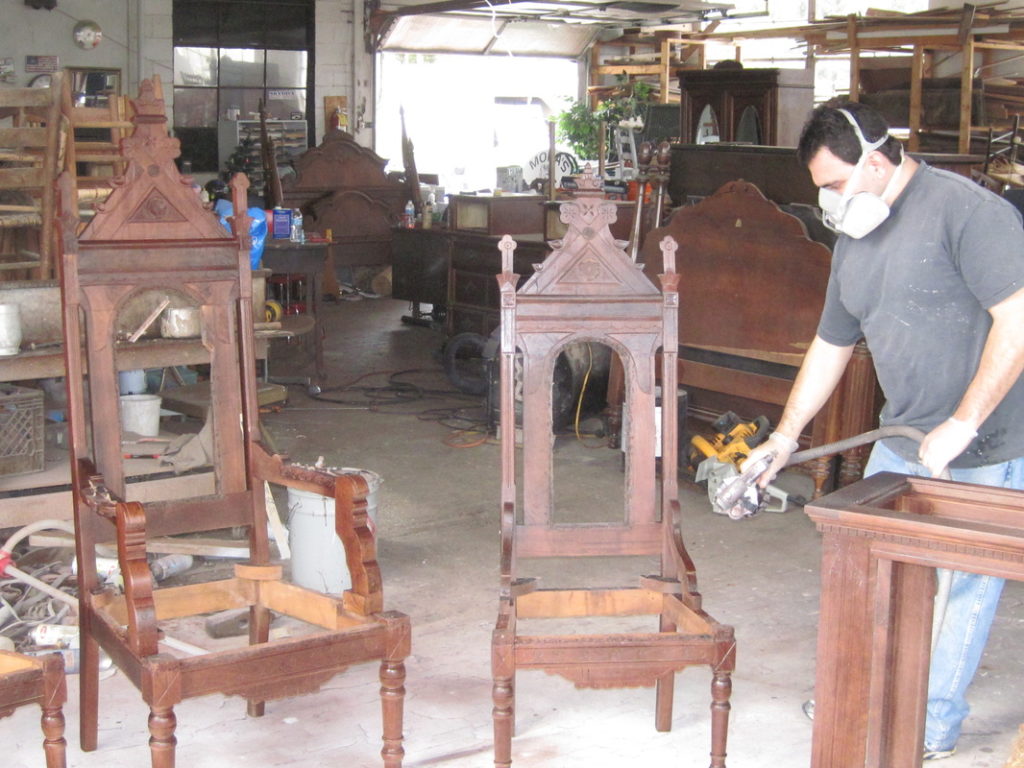
source: antiquesclevelandtn.com
-
Looking into the Old Finish
Before restoring antique furniture, you should know what the current finish o the wood is.
Natural finishes that include lacquer, varnish, and shellac are difficult to establish by sight alone and might need some experimentation. First, test the wood by using denatured alcohol to a plain area. If the finish comes off by doing that, it is a shellac finish. If it takes lacquer thinner to dispose of the coating, it is lacquer and if neither one of these work, you are most likely looking at varnish. It is much easier to establish the coating if it’s paint or enamel. Other coating like penetrating sealer, wax or oil can be determined if the furniture has no shine.
-
Cleaning
I some cases restoring old furniture doesn’t have to be complicated and just needs a good scrubbing. The techniques written here can be used for scrubbing up wicker surfaces, rattan or wood surfaces. First, use a commercial wood cleaner that contains oil to go through the layers of wax and dirt on the surface of your furniture. If wood cleaner isn’t enough, try using hot water and liquid detergent. Use a cloth, while being careful not to get the wood too wet. Clean the area carefully, and dry it a dry, clean cloth so the wood doesn’t get damaged by water.
Read about Garden Design Ideas That Will Boost Your Outdoor Space
If none of this works you might need to use a solvent for cleaning furniture.
The solvent can be denatured alcohol, turpentine or mineral spirits. If you can, work with these materials outdoors or at least in an area with good air circulation. Use a harsh cloth to use the material, and another one to clean it off right away. After a good scrubbing, use a commercial cleaner on the surface of your furniture and polish the surface gently with another clean cloth.
-
Reamalgamation
Coatings can have cracks and scratches that can make the surface of the wood dull and add a crackling effect to the piece. The best way to remove this effect with a process known as reamalgamation, that uses a solvent applied directly to brush off the flaws. First, Use one of the above methods to clean the piece. Next, pick a solvent; lacquer thinner on lacquer, denatured alcohol for shellac. reamalgamation usually doesn’t work with Varnish. Use the solvent on the surface coating with a natural bristle brush, and don’t let the brush get dry. While the solvent gets dry, it will first look shiny and then dull to a finish, without all those cracks and scratches. Brush the area gently with steel wool, going along the grain.
-
Stripping
Next up is doing the refinish, the first thing you have to do in antique-furniture restoration is taking off the old finish so you can apply the new stain.
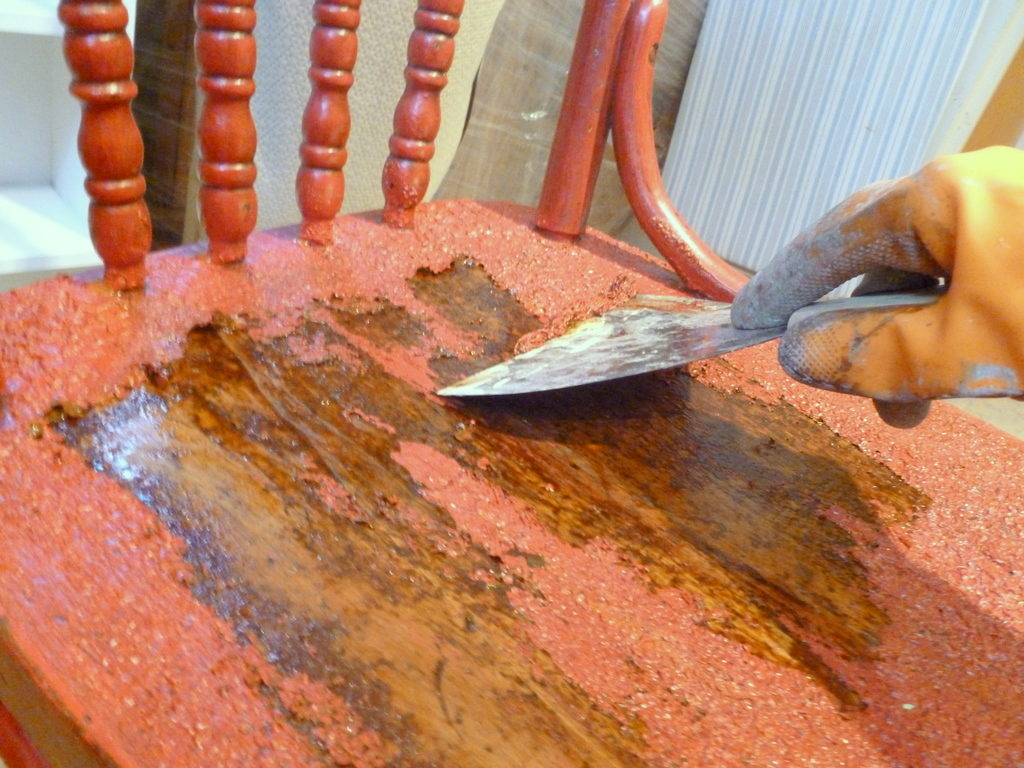
The more layers of paint there the stronger the stripping formula has to be. Going from top to bottom, use the stripper freely in a one direction. Then in around 15 minutes, it depends on how thick the paint is, start scraping the finish with a putty knife or a tool. It can take more than one try so you should be patient.
After you get most of the finish off, start using a liquid stripper to get it all off. Apply the liquid with a natural bristle paint brush and let it to stay there for a couple of minutes. Next, use a piece of steel wool or brass-bristle brush to take the finish off from carvings and corners. Do the last rinse with clean stripper to take off finish and paint that’s left, then use a squeegee on flat parts of the furniture and a wrap a putty knife in a paper towel and use it to get the hard-to-get-to places.
-
Refinishing
After all that hard work comes the fun part, applying a new layer of paint and finish and giving your furniture a new look. Before doing this you have to repair anything that’s broken and sand the furniture with 100-120 grit sandpaper, of course you’ll need to clean all that before continuing.
Using a natural-bristle brush apply the paint, leave it on there for at least 5 minutes and wipe the extra paint off with a clean piece of cloth. Use a sanding sealer and let it stay there through the night to make the second sanding better the next day. The second sanding should be done with a 220-grit sandpaper before applying the finish. Use a polyurethane, lacquer, varnish that will keep the wood and stain safe.
Doing all this is very rewarding and can being a whole new look to your furniture. Whether it’s a table with more than one coat of paint or a wardrobe that needs a makeover, you can make the piece beautiful again by doing all these steps. It takes a lot of hard work to do all this but in the end it’s well worth it.